
How to Transfer Data from Autel IM608IM508 to PC


Question: Can we precode transponders with just Autel IM508 XP200 if using another device to read eeprom data or only XP400? How to transfer data read by autel xp200/xp400 from im508/im608 to PC?

Yes you can, put dump on usb memory, and put usb memory direct in im508 usb port…then tranfer dump to autel local memory.

Way 1: use SD Card or USB stick

On the MaxiIM IM508/IM608, there is a hidden Mini SD Card slot under the battery cover.

So easy to transfer files, between a computer.

Best with USB- MicroSD Adapter.

Then good to read dump with IM programmer.

It is possible to search name, to find the files.

You can find on local im508 memory user folders where are placed dumps, and make that folder as favorite… then when open usb stick memory on im508 make copy dump, and when need to navigate you use favorite location, and copy/move dump from usb stick memory, in folder where autel will store when read it. For example, in FIAT folder place fiat bcm dump.

When autel open file manager to navigate me to choose dump, dump is there like that autel read it.

Way 2:

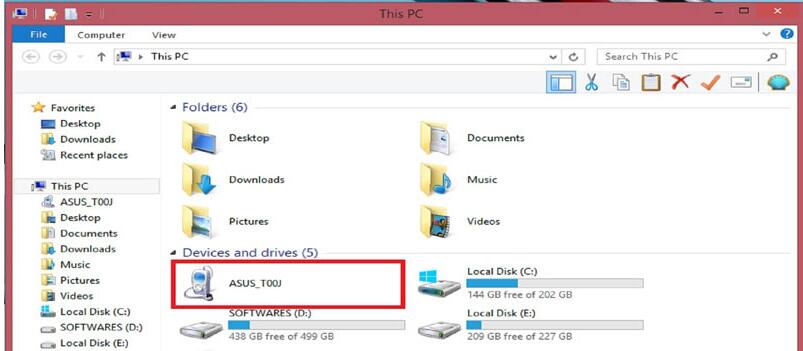
No need to play with sd nor usb stick. You can connect your PC and your 508 via mini usb cable (marked OTG) it should be appearing under “This PC” –> “Devices and drivers” –> “IM508”
looks like in the picture but not ASUS obviously

How-to-Transfer-Data-from-Autel-IM608IM508-to-PC

and the path is:
im508 –> Nand flash –> Scan –> UserData –>

Comments

Popular posts from this blog

How to Delete Software of AUTEL MaxiSYS Pro MS908P

WIFI AUTEL MaxiSYS Pro MS908P is with complete capabilities for codes, live data, actuation tests, adaptations, coding and ECU programming.And sometimes,some of car software in the device can not use correctly,you may need to delete the software and download the car software again to Autel Maxisys Pro. New  Autel Maxisys Pro MS908P Diagnostic System with WiFi Free Shipping How to Delete Software of AUTEL MaxiSYS Pro MS908P? 1.Start the machine,and click Data Manager. 2.Click Apps. 3.Then it will display the car software in the device. 4.Choose the car software you need to delete. 5.Click the delete button to remove.

How to Activate Autel AP200 OBD2 Scanner with Full Brands

  Activation of all brands for  Autel AP200 Bluetooth OBD2 scanner is possible, but without special functions (adaptation, coding), only diagnostics for all modules and reset of service intervals. But it is a good alternative for personal use for DIYers. When activated for all brands, the program also performs only diagnostics for all makes. Such an adapter is suitable for personal use and auto-fitting. For car services, it will be a tool for quickly reading errors from all makes. Activation of all Autel AP200 brands in Xdiag ap200 indefinitely You can activate in 2 ways: 1) Through the Autel Start program 2) Through the Xdiag AP200 program, which has shown itself to be on the good side in working with Launch adapters. Here are some images showing  Autel ap 200 activations for all brands: Upon activation of Autel ap200 for all brands, you can search Google (i.e famous 4pda.to website). It has instructions to install cracked app and install database for all...

Autel MaxiDas DS808 Software and Firmware Update Manual

  Firmware Upgrade for Autel MaxiDas DS808 This option allows you to update the firmware of the scan tool. Connect the scan tablet with the vehicle through DLC or use the mini USB cable for power supply. Follow the on-screen instructions to complete the operation. Internet connection is necessary for this operation. How to Set “Auto Update” for Autel DS808? The Auto Update allows the tool to automatically update the OS, the MaxiDAS system, and the Vehicle. All you need to do is to switch ON by tapping the button on the right side of each and set the desired automatic update time. To set auto system or vehicle update 1. Tap the Settings application on the MaxiDAS Job Menu. 2. Tap the Auto Update option on the left column. The three auto update items list on the right. 3. Switch the ON the button on the right of item that you want to auto update. 4. Tap on the time to set time, you can use the + and – button or tap on the numbers then the manual input screen will pop...