
Autel IM608 Pro EEPROM function to do AKL programming for Volvo V50 2005

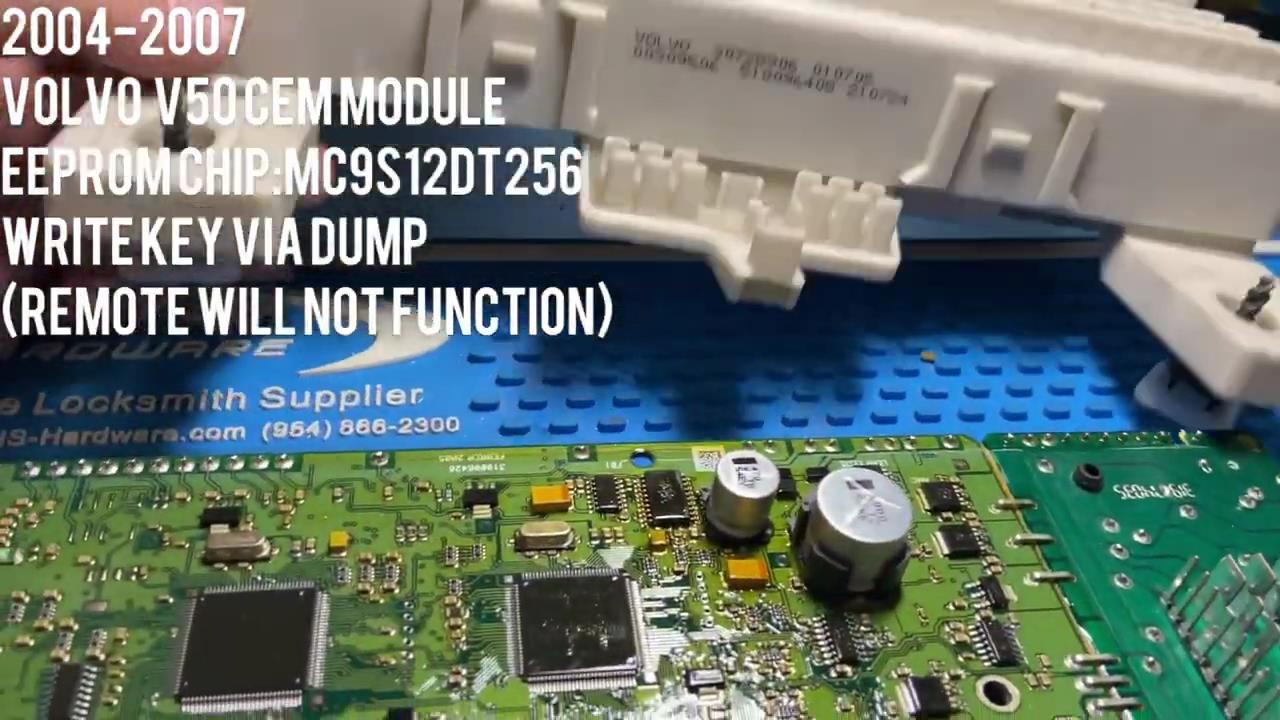
This instruction show you guide on how to use Autel IM608 Pro EEPROM function to do all key lost programming for Volvo V50 2005.If you want more topic for car keys programming,please refer to:Car Key Programming Guide

Autel-IM608-Pro-EEPROM-function-to-do-AKL-programming-for-Volvo-V50-2005-1

Preparations:

Autel MaxiIM IM608 PRO Auto Key Programmer

Procedures:

Firstly,you need remove CEM module from Volvo V50,it is locate on passenger side and behind the glove box.Volvo trouble repair

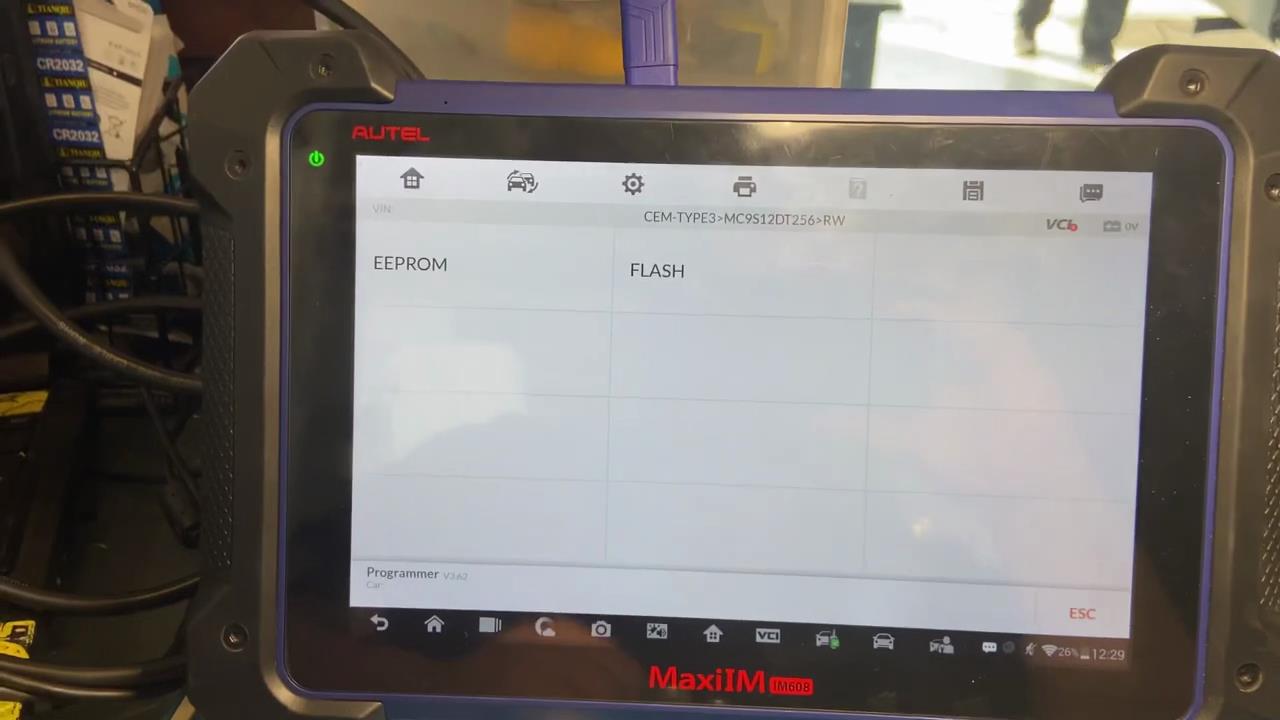
Run Autel IM608 PRO,then select “Programmer”–>”Chip(EEPROM,MCU,ECU)”–>”Chip read & write”–>”Immobilizer”–>”Volvo”–>”CEM TYPE3>MC9S12DT256>RW”
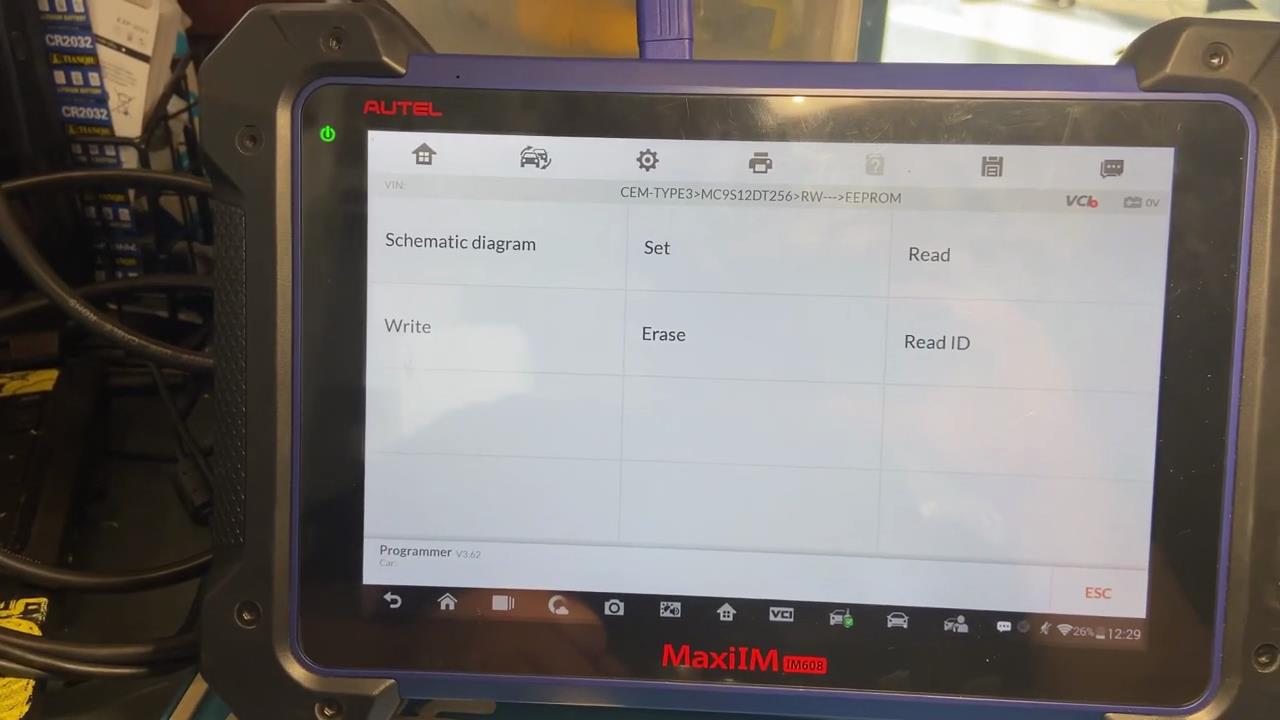
Autel-IM608-Pro-EEPROM-function-to-do-AKL-programming-for-Volvo-V50-2005-2

Select “EEPROM”

Autel-IM608-Pro-EEPROM-function-to-do-AKL-programming-for-Volvo-V50-2005-3

Select “Schematic diagram”

Autel-IM608-Pro-EEPROM-function-to-do-AKL-programming-for-Volvo-V50-2005-4

Now here show the diagram and the operation guide:

Step1:APA106 wire harness is only available for XP401/XP404 programmer.

APA109 wire harness is only available for XP401 Pro/XP400 Pro programmer.

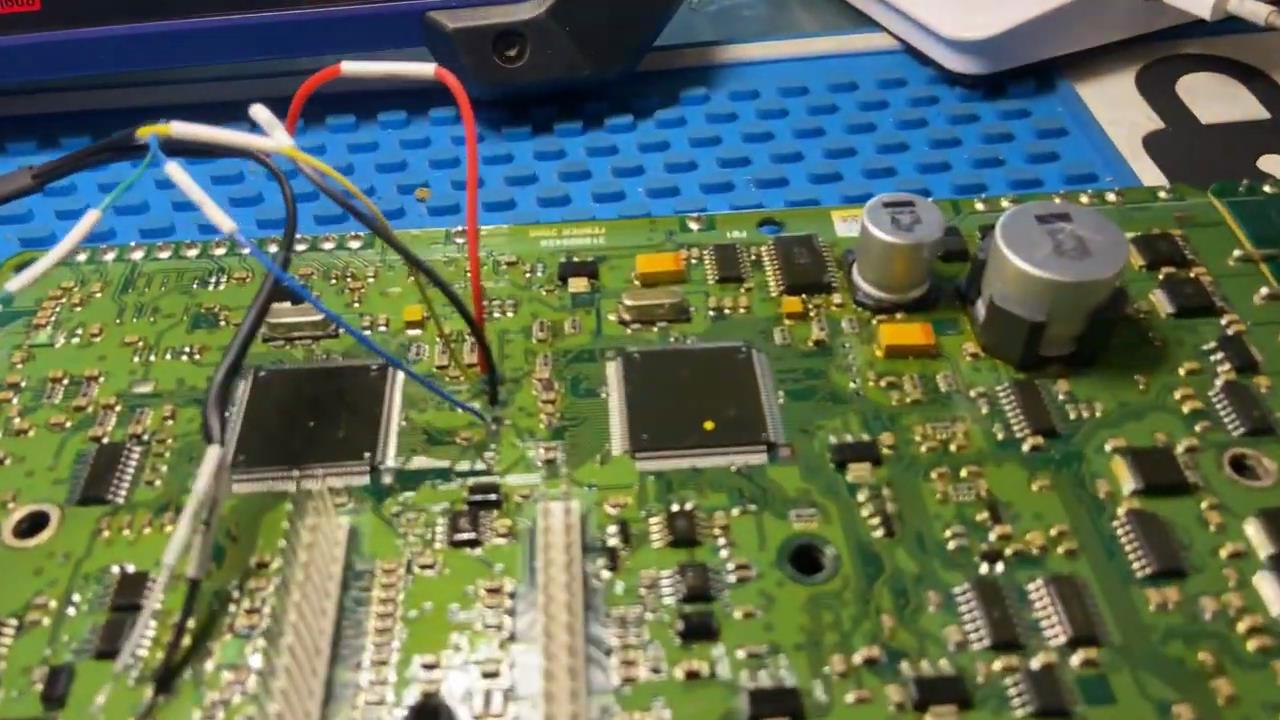
Step2:Check the circuit board of the current components,and identify the corresponding circuit board from the pictures below

Step3:The two chips are connected in the same way,and connect,read or write data as illustrated in the picture.

Autel-IM608-Pro-EEPROM-function-to-do-AKL-programming-for-Volvo-V50-2005-5

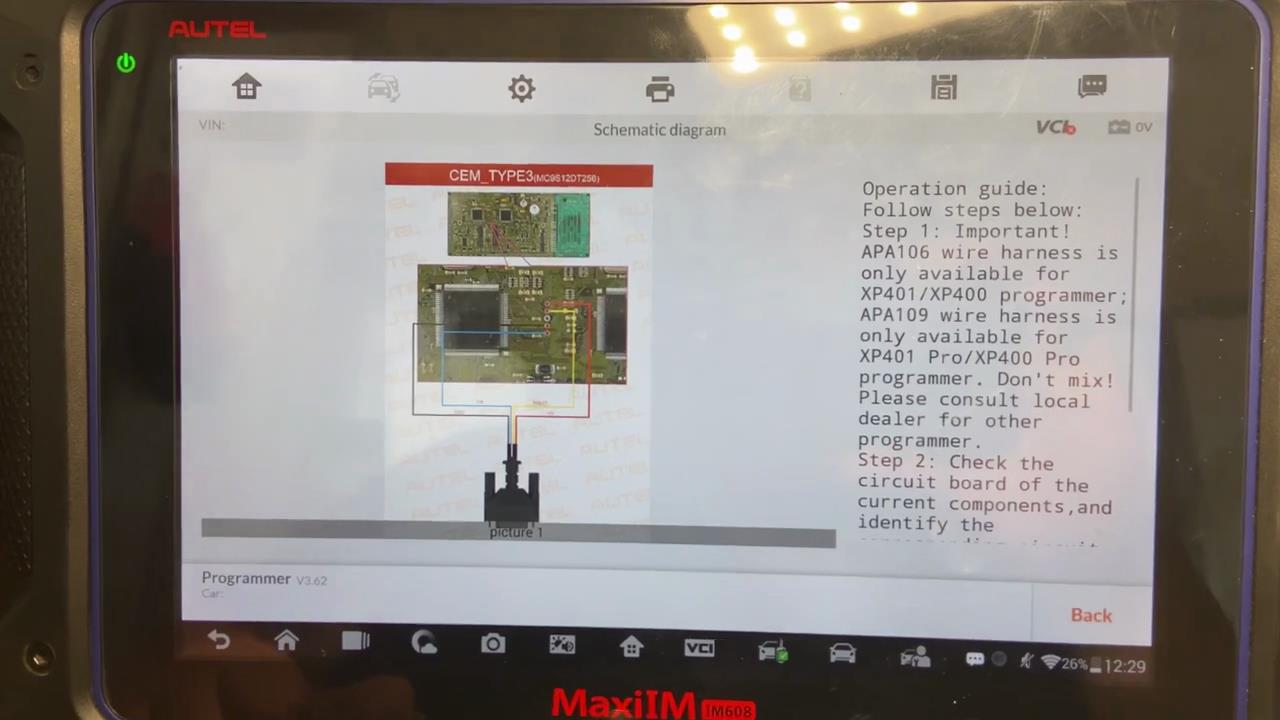
Follow the guide and picture to solder the wires on the CEM module PCB

Autel-IM608-Pro-EEPROM-function-to-do-AKL-programming-for-Volvo-V50-2005-6

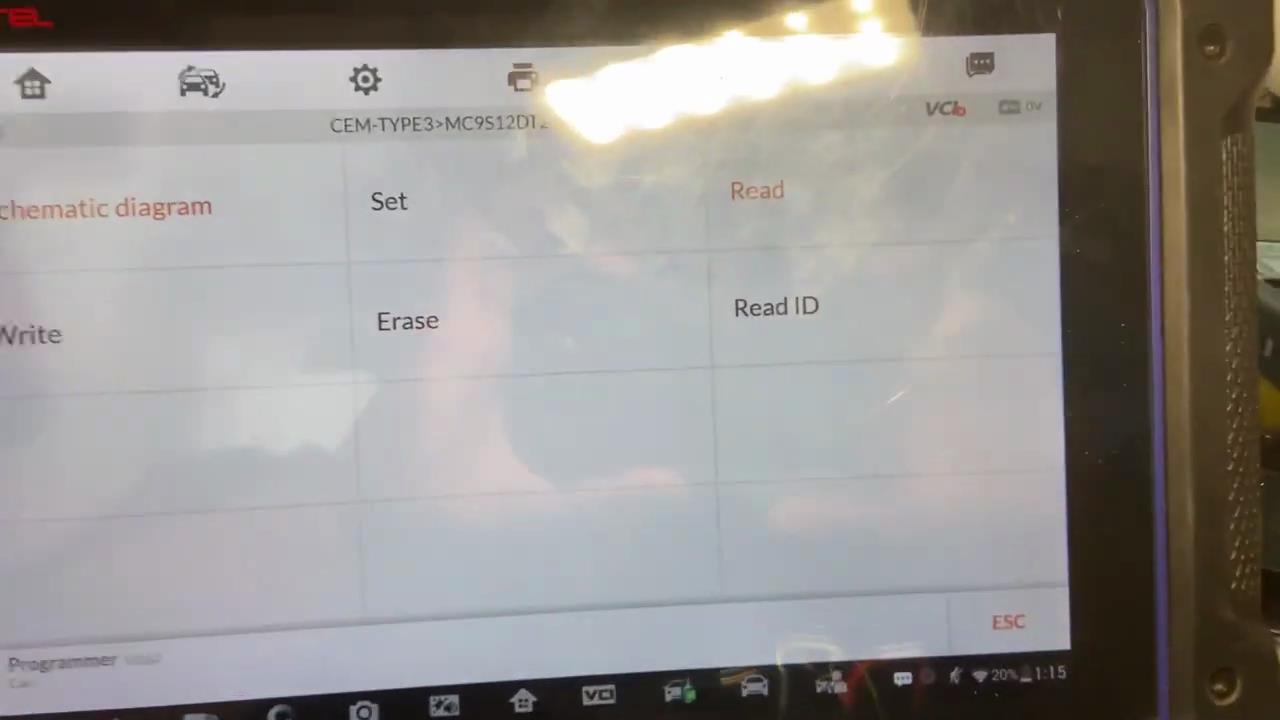
Then back to menu to select “Read”

Autel-IM608-Pro-EEPROM-function-to-do-AKL-programming-for-Volvo-V50-2005-7

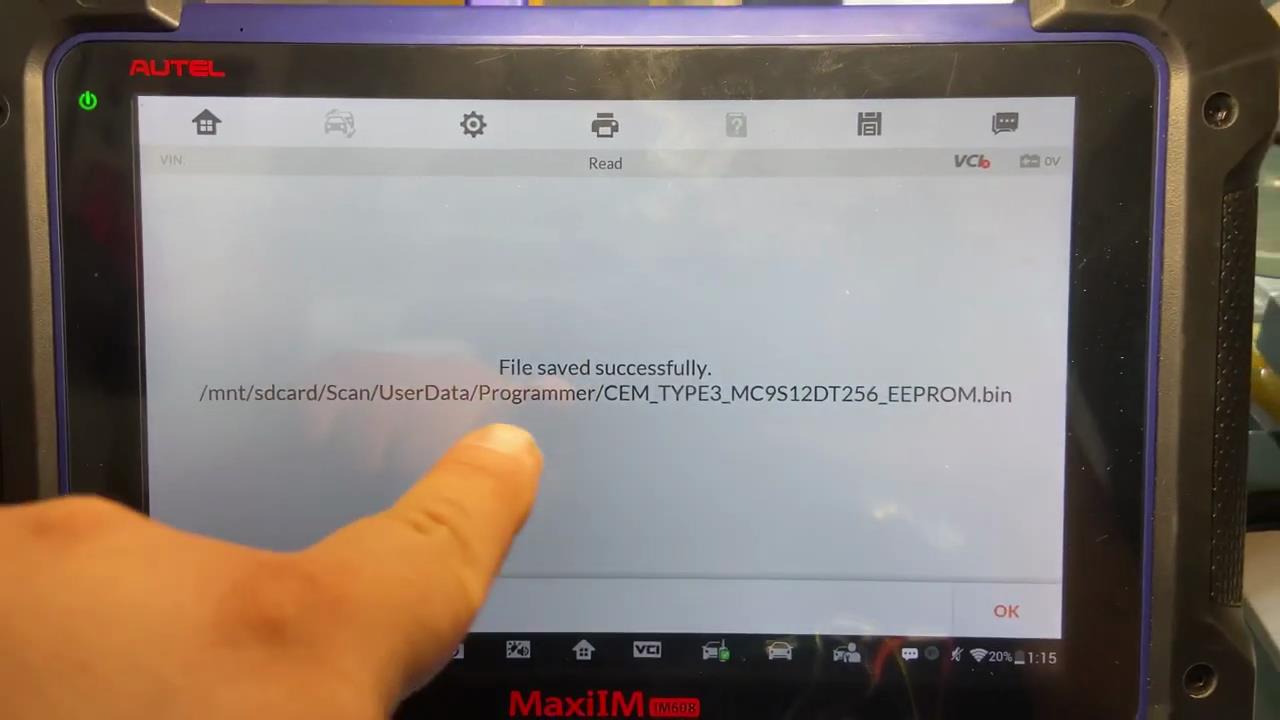
And then save the bin file on Autel IM608 Pro tablet

Autel-IM608-Pro-EEPROM-function-to-do-AKL-programming-for-Volvo-V50-2005-8

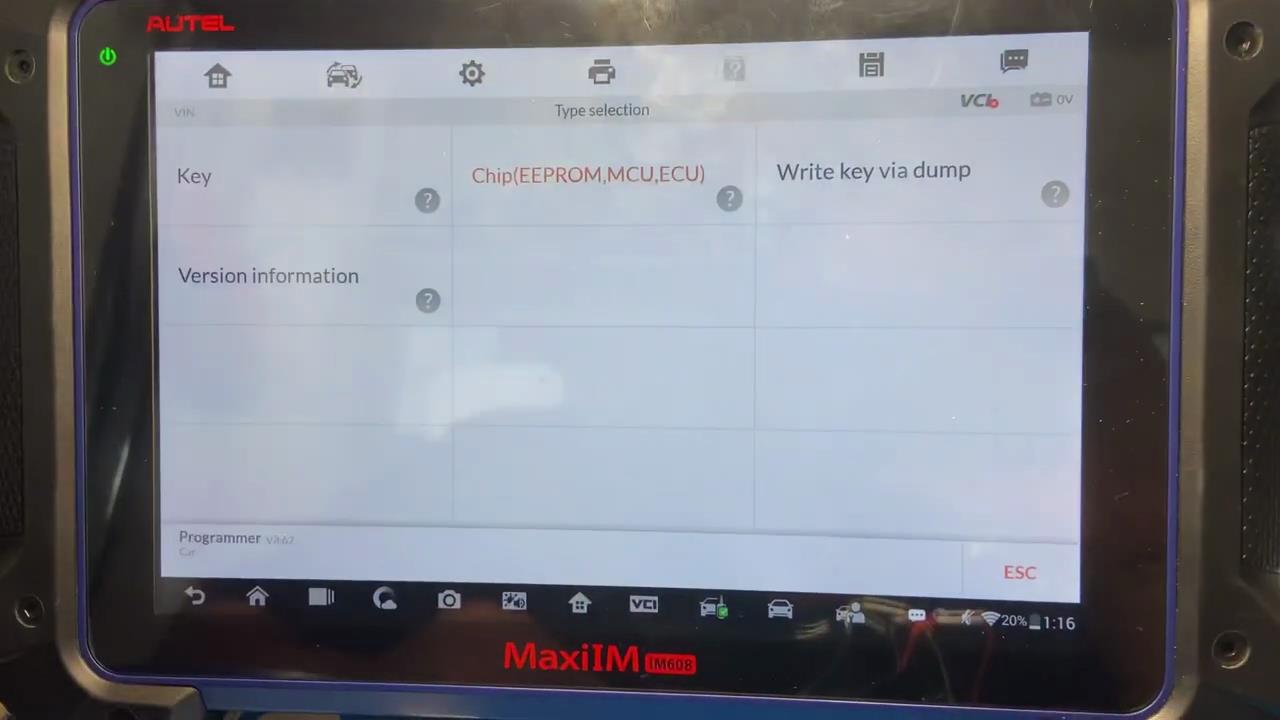
Back to menu to select “Write key via dump”,then press “YES”

Autel-IM608-Pro-EEPROM-function-to-do-AKL-programming-for-Volvo-V50-2005-9

Select “Europe”–>”Volvo”–>”V50”–>”2004-2007 MC9S12DT256”

After then press “Load data”

Autel-IM608-Pro-EEPROM-function-to-do-AKL-programming-for-Volvo-V50-2005-10

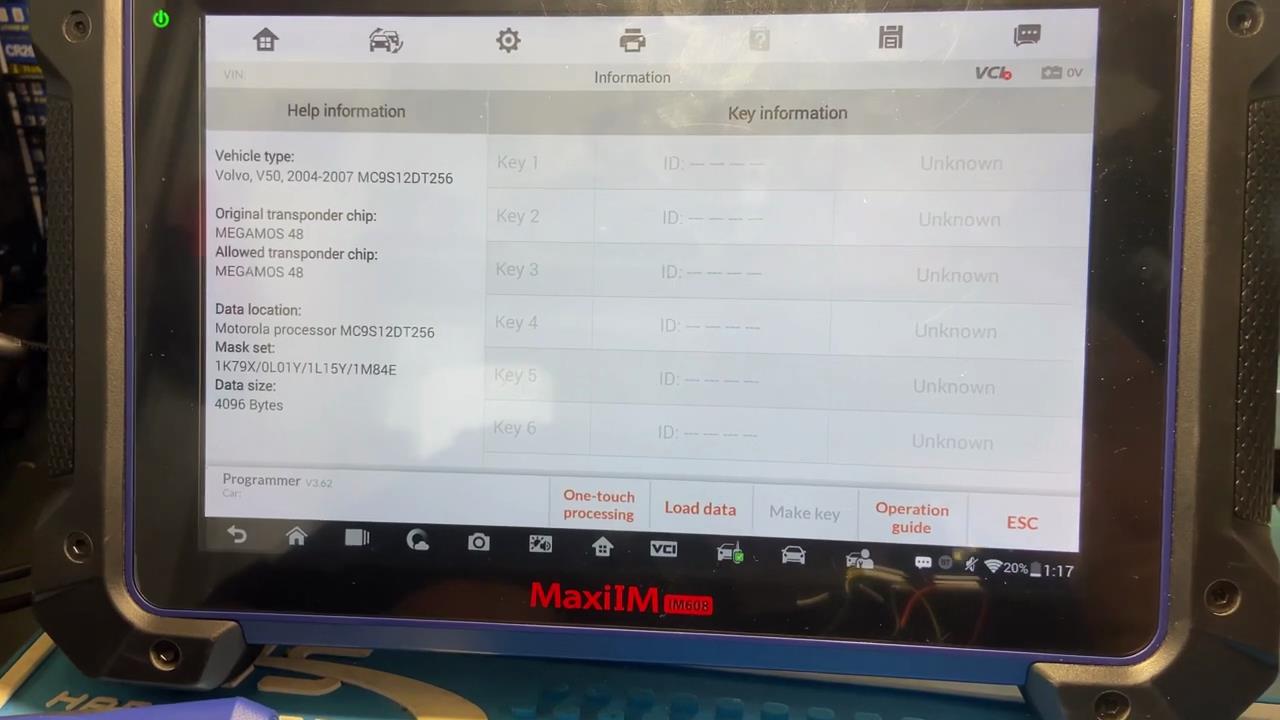
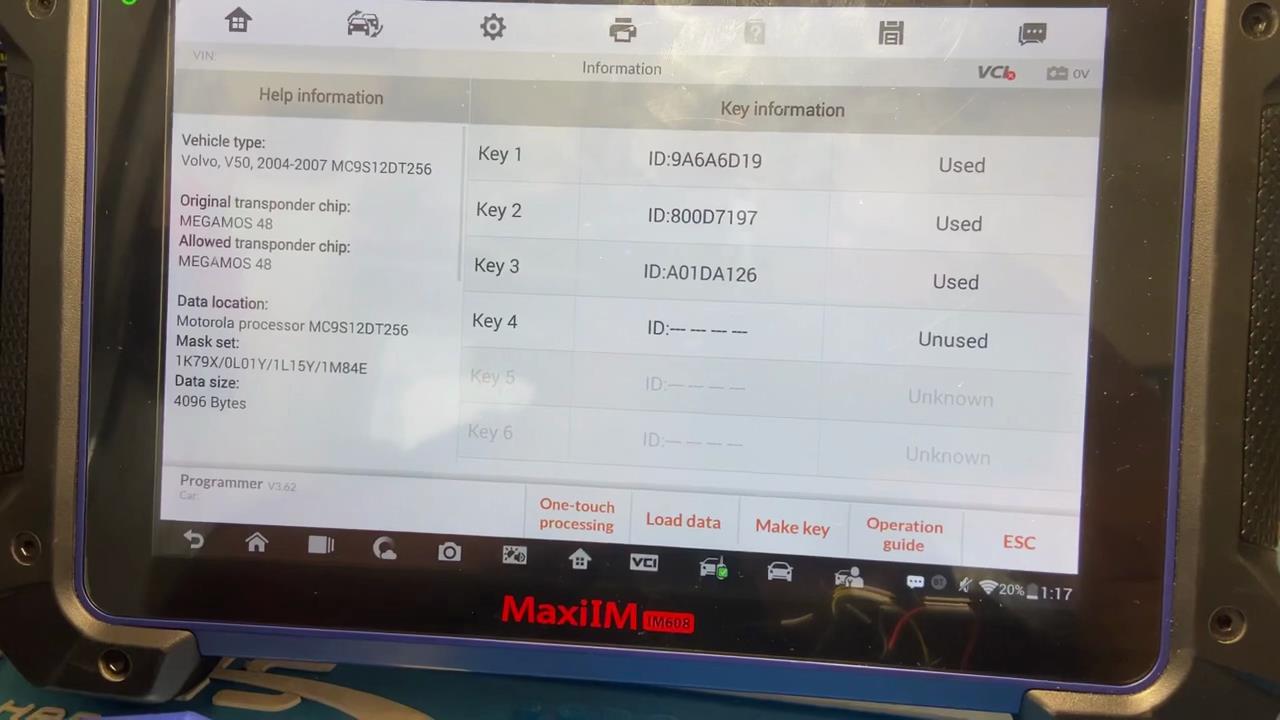
Now here load the data bin file you save before.

Here we select a unused key number

Autel-IM608-Pro-EEPROM-function-to-do-AKL-programming-for-Volvo-V50-2005-11

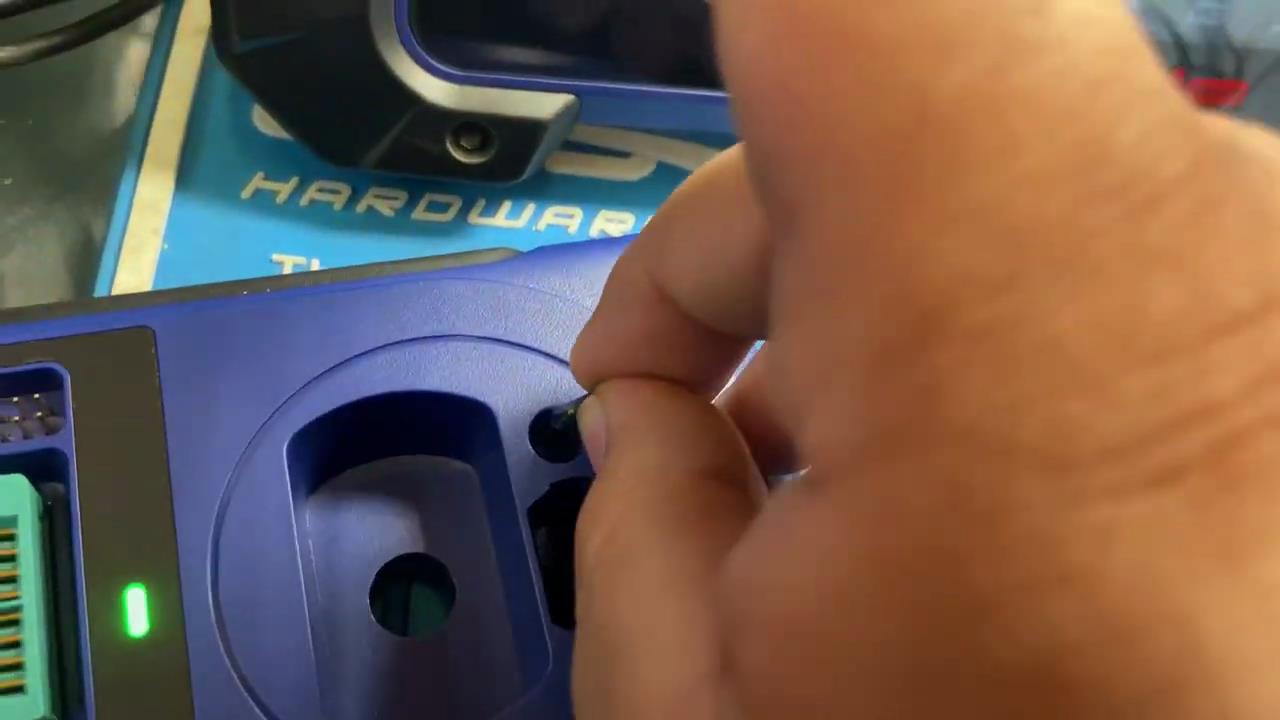
Put 48chip into XP400 programmer slot,,then press “Make Key”
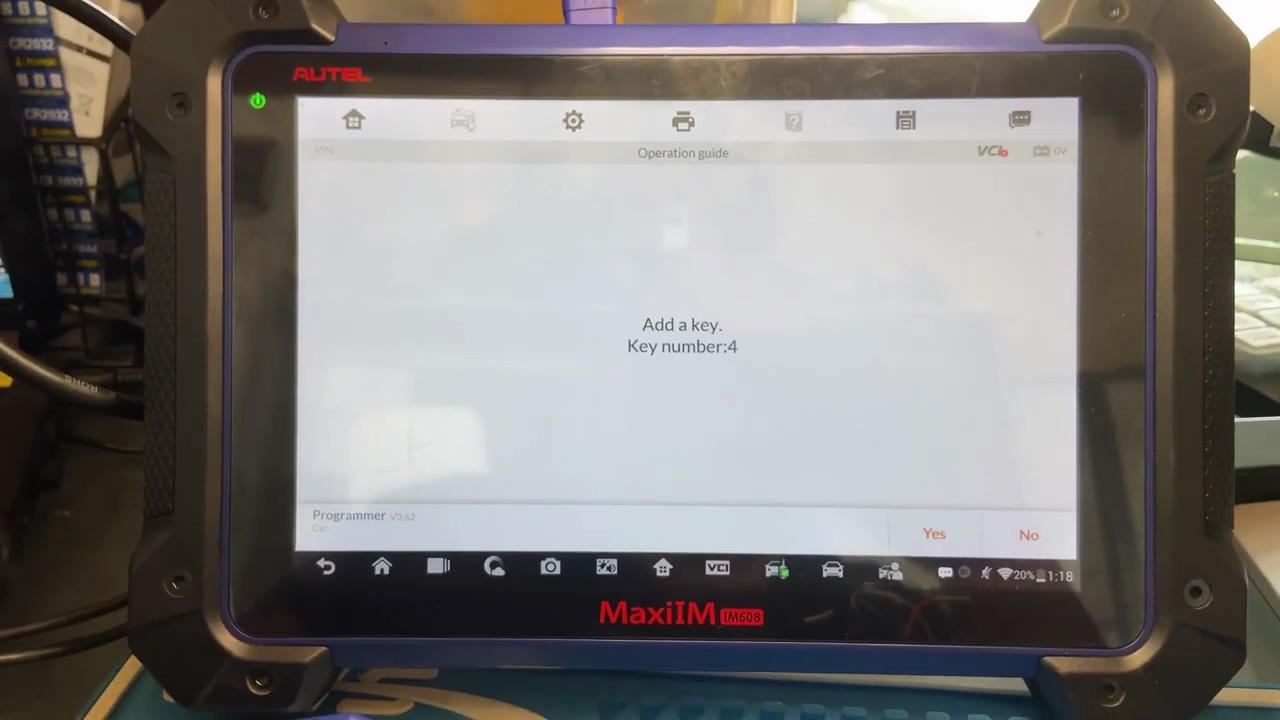
Autel-IM608-Pro-EEPROM-function-to-do-AKL-programming-for-Volvo-V50-2005-12

Add a key

Key number:4

Please press “YES” to continue

Autel-IM608-Pro-EEPROM-function-to-do-AKL-programming-for-Volvo-V50-2005-13

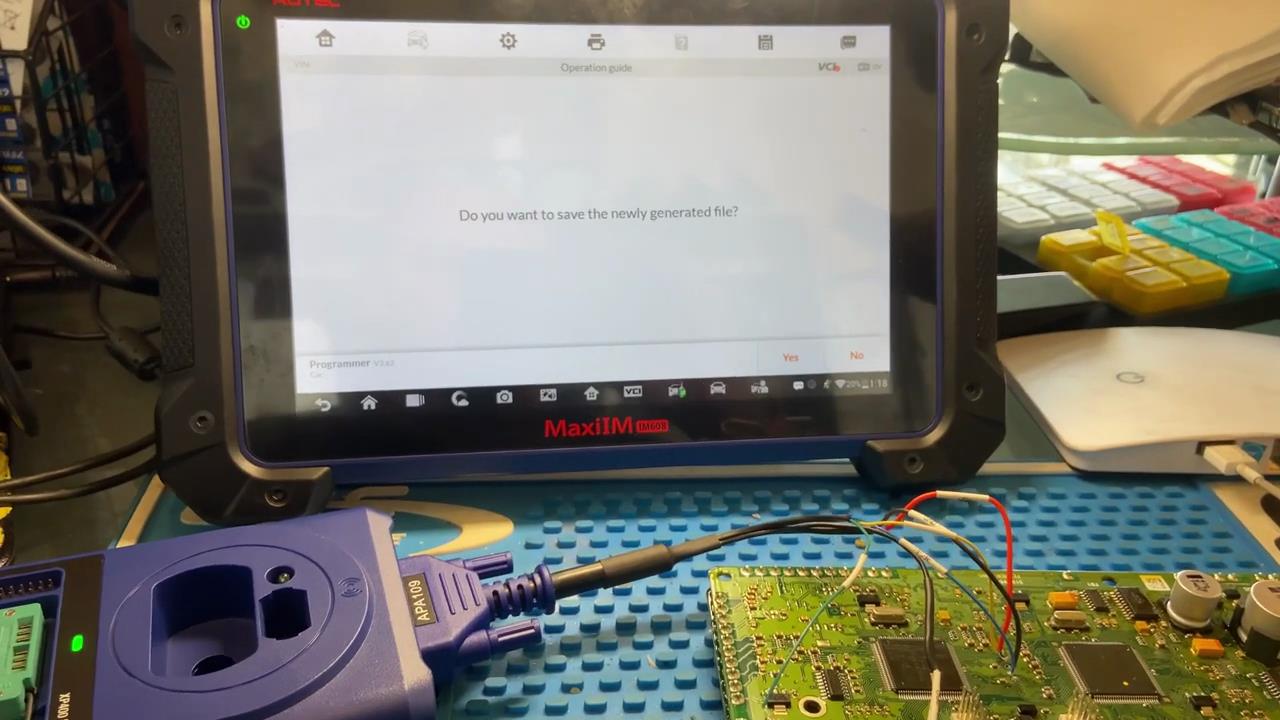
Here press “Yes” to save newly generated file

Autel-IM608-Pro-EEPROM-function-to-do-AKL-programming-for-Volvo-V50-2005-14

Then please save file on tablet
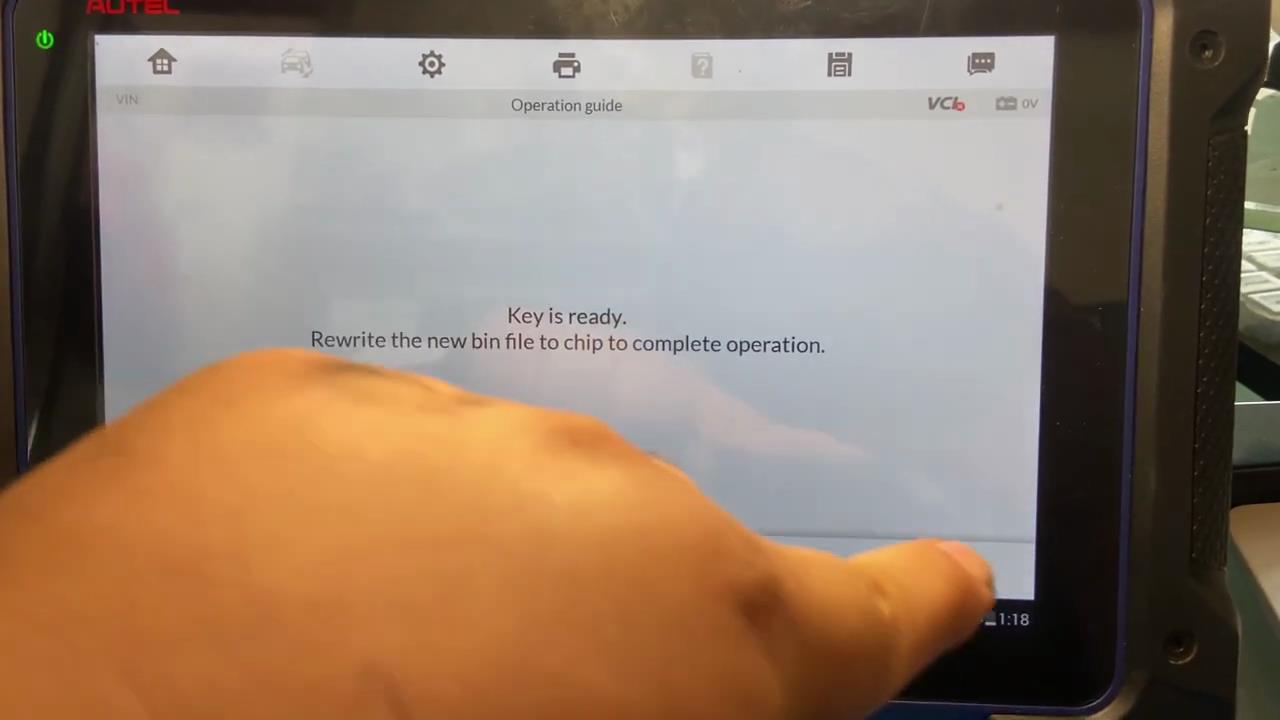
Key is ready

Rewrite the new bin file to chip to complete operation

Press “OK”

Autel-IM608-Pro-EEPROM-function-to-do-AKL-programming-for-Volvo-V50-2005-15

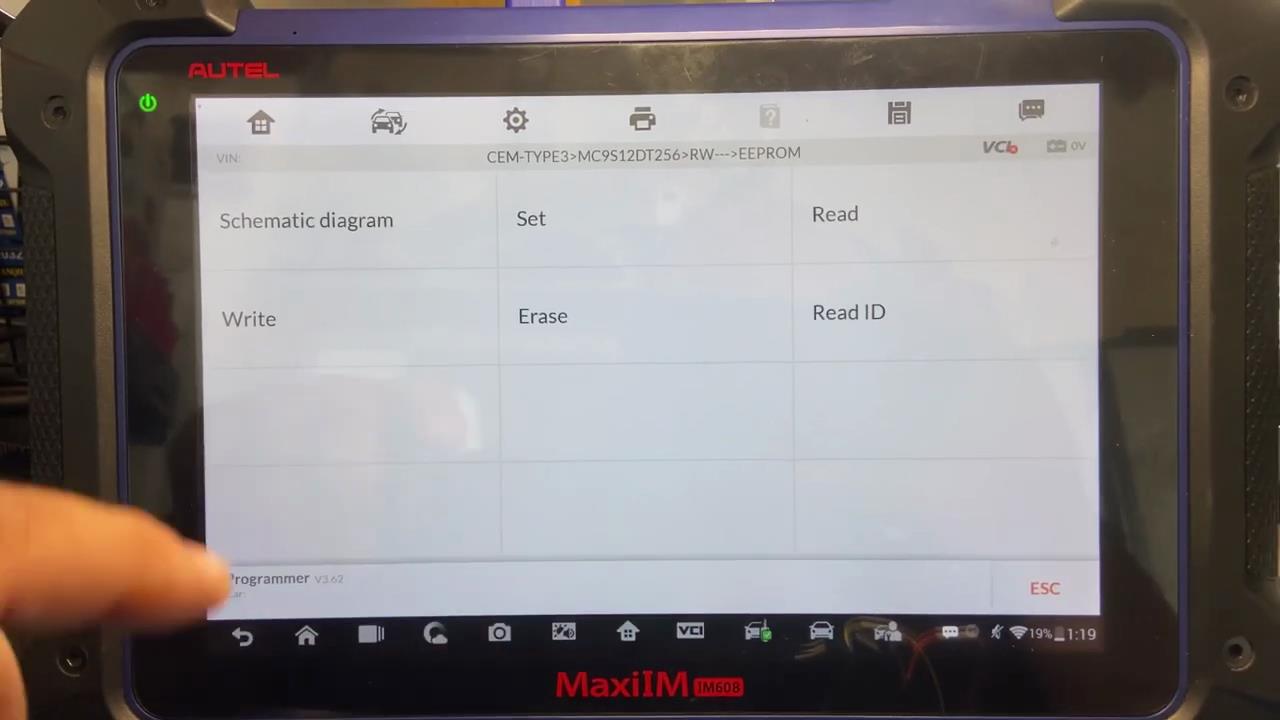
Back to menu select ”Chip(EEPROM,MCU,ECU)”–>”Chip read & write”–>”Immobilizer””Volvo”–>”CEM TYPE3>MC9S12DT256>RW”–>”EEPROM”–>”Write”

Autel-IM608-Pro-EEPROM-function-to-do-AKL-programming-for-Volvo-V50-2005-16

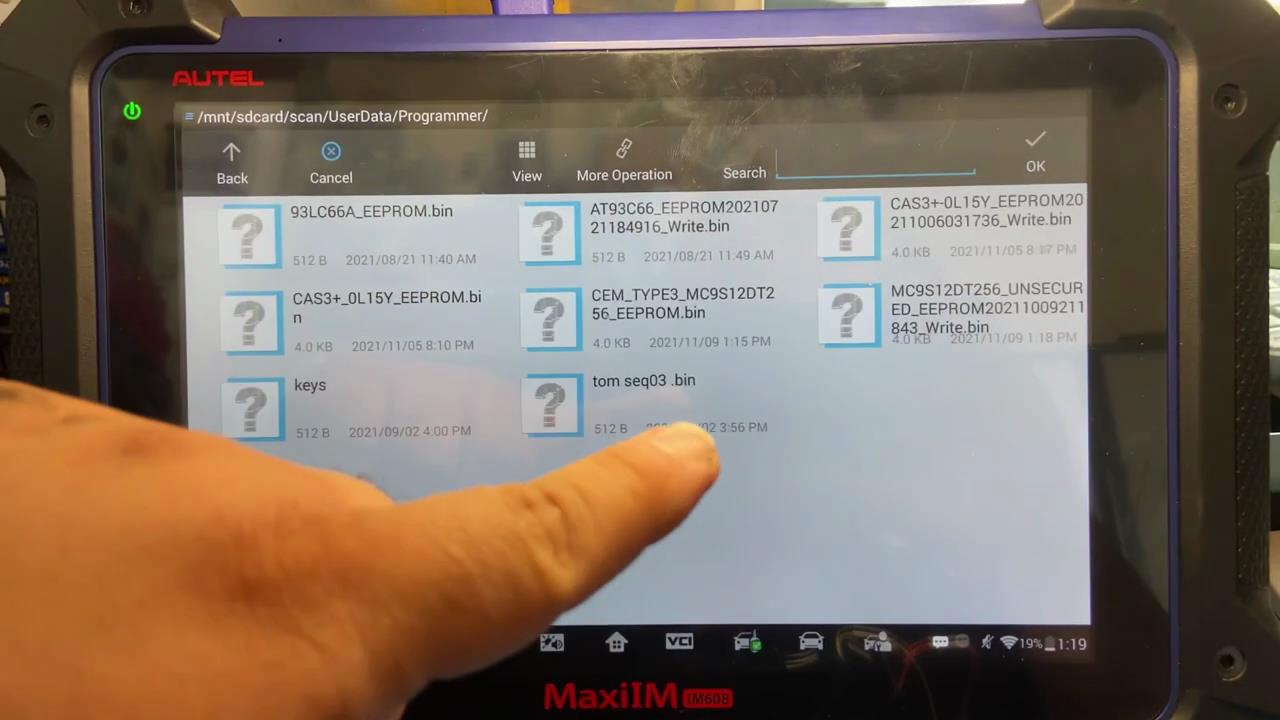
Select new bin file you saved before

Autel-IM608-Pro-EEPROM-function-to-do-AKL-programming-for-Volvo-V50-2005-17

Then wait written processing successfully

Autel-IM608-Pro-EEPROM-function-to-do-AKL-programming-for-Volvo-V50-2005-18

Ok,now please install CEM module back on Volvo V50

Comments

Popular posts from this blog

How to Delete Software of AUTEL MaxiSYS Pro MS908P

WIFI AUTEL MaxiSYS Pro MS908P is with complete capabilities for codes, live data, actuation tests, adaptations, coding and ECU programming.And sometimes,some of car software in the device can not use correctly,you may need to delete the software and download the car software again to Autel Maxisys Pro. New  Autel Maxisys Pro MS908P Diagnostic System with WiFi Free Shipping How to Delete Software of AUTEL MaxiSYS Pro MS908P? 1.Start the machine,and click Data Manager. 2.Click Apps. 3.Then it will display the car software in the device. 4.Choose the car software you need to delete. 5.Click the delete button to remove.

How to Activate Autel AP200 OBD2 Scanner with Full Brands

  Activation of all brands for  Autel AP200 Bluetooth OBD2 scanner is possible, but without special functions (adaptation, coding), only diagnostics for all modules and reset of service intervals. But it is a good alternative for personal use for DIYers. When activated for all brands, the program also performs only diagnostics for all makes. Such an adapter is suitable for personal use and auto-fitting. For car services, it will be a tool for quickly reading errors from all makes. Activation of all Autel AP200 brands in Xdiag ap200 indefinitely You can activate in 2 ways: 1) Through the Autel Start program 2) Through the Xdiag AP200 program, which has shown itself to be on the good side in working with Launch adapters. Here are some images showing  Autel ap 200 activations for all brands: Upon activation of Autel ap200 for all brands, you can search Google (i.e famous 4pda.to website). It has instructions to install cracked app and install database for all...

Autel MaxiDas DS808 Software and Firmware Update Manual

  Firmware Upgrade for Autel MaxiDas DS808 This option allows you to update the firmware of the scan tool. Connect the scan tablet with the vehicle through DLC or use the mini USB cable for power supply. Follow the on-screen instructions to complete the operation. Internet connection is necessary for this operation. How to Set “Auto Update” for Autel DS808? The Auto Update allows the tool to automatically update the OS, the MaxiDAS system, and the Vehicle. All you need to do is to switch ON by tapping the button on the right side of each and set the desired automatic update time. To set auto system or vehicle update 1. Tap the Settings application on the MaxiDAS Job Menu. 2. Tap the Auto Update option on the left column. The three auto update items list on the right. 3. Switch the ON the button on the right of item that you want to auto update. 4. Tap on the time to set time, you can use the + and – button or tap on the numbers then the manual input screen will pop...